I am always in for a good cooking workshop. So no wonder that as soon as I saw Bazilika Bistro post a Facebook event by Barbara Prezelj about the art of making young cheese, I signed up, paid for the event and excitedly put it in my planner. The thing is, though, you never know if a workshop is actually going to be good or just a waste of money. I had a good feeling about this one, though (my huge love of cheese of all kinds might have had something to do with it), and I sure wasn’t wrong.
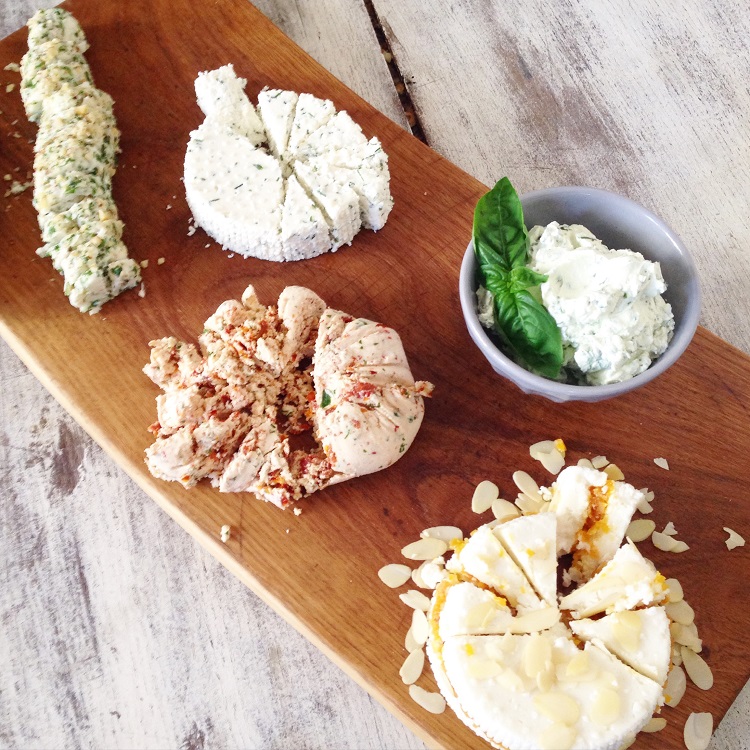
Our class started with a little cheese tasting just to let us know what we were in for and what our final products should look and taste like. I have to say they were all delicious but my absolute favorite was the yogurt cheese in olive oil. According to Barbara, yogurt cheese is even easier to make than the ones we were making. I will let you know how that one goes if I ever try to make it. Next, Barbara took us through the “history” of her love of cheese and her decision to start making her own cheese, explained the basics of choosing the right milk and other ingredients and showed us some photos of the process so that we would know if we were really doing things right.
The creative part of our workshop was now ready to begin.
But first, for those of you who have not yet heard of the term “green cheese”, let me explain it in a few words. Green cheese, also called unmatured cheese, is a term for fresh cheese, one that has not thoroughly dried yet, nor been aged, one which is white in color and usually round in shape. And as we learned yesterday, it is also really easy and fun to make at home. So as you can see, the term green does not refer to it’s color but rather to it’s newness.
Now back to the workshop. Each of us got our working station, a small pot, a wooden spoon, a bottle of milk, some citric acid and unionized salt, a thermometer and two recipes – one for cow and one for goat cheese.
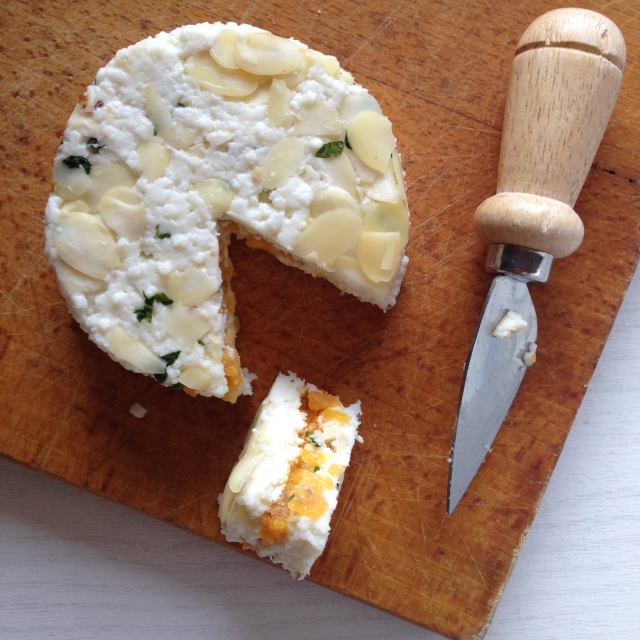
As I said, the process of making green cheese is quite simple. It all comes down to heating some good quality milk to a certain temperature, adding citric acid (or lemon juice) and in the end spices of your choice. The trick is not to overheat or even burn the milk because this will leave the cheese with a bitter taste and not to over mix it because that will make it chewy and elastic. Following a carefully written recipe and under Barbara’s watchful eye, all participants ended up making their own perfect little green cheese, seasoned to their taste and ready to be shared with their loved ones at home. I decided to make goat cheese (chèvre), seasoned with salt and basil with some added ground almonds and a layer of dried apricots.
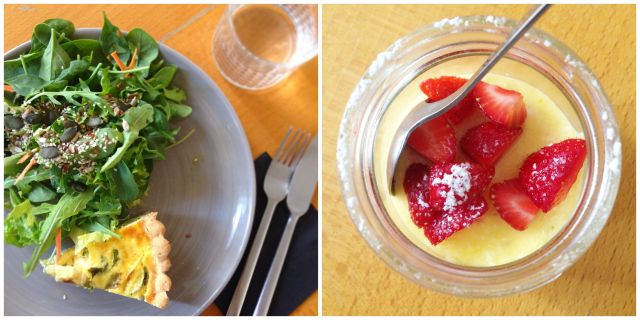
Our workshop ended with a dinner prepared by the talented chefs of Bazilika Bistro, using different green cheeses made by our teacher Barbara. The main course was a Bazilika classic – zucchini and leeks quiche with green cheese instead of Parmesan. For dessert, we had ricotta cheese with orange and fresh strawberries, a really fresh and not to sweet dessert. Yum!
After class, each of us got to take the cheese we made home. I wrapped mine in tinfoil and took it home to let it cool and set over night. I must confess it was hard not to look at it and taste it first thing I came home, but I decided it was best (though not necessary) to wait and let it cool some more. The wait paid off and my cheese turned out great. It goes really well with almost anything or you can just have it by itself.
