I am one of those people who are constantly thinking about what new they could create in the kitchen. I mostly start with what I already have at home and build from there. We’ve all bought food before for a meal or special occasion that we in the end ended up not using. It’s always better to buy more than to run out of food when hosting a lunch or a get together, right? So what to do with the extra ingredients now just lying around in your fridge or pantry, ingredients that you don’t really use on a daily basis? Come up with a way to use them, of course!
What I had in stock were my healthy chocolate chip cookies. I myself really liked them, but my family found them to be too healthy (with the exception of my boyfriend who loves them!<3 ). Since I knew I wasn’t going to eat 30-something cookies myself, I had to come up with a way to secretly use them in another dessert and see if my family would “buy it”. Since I’ve always wanted to make a cheesecake and I now had healthy, wheat and sugar free cookies on my hand, it was an obvious choice. It just happened to be that the other “leftover” ingredient I had in my fridge was cream cheese. So I started searching for a recipe, and let me tell you, it was not an easy job! So many different alternatives, bake, no bake, only cream cheese, cream cheese and sour cream.. What they all had in common, though, were Graham crackers and sugar. The two things I did NOT want to use. I ended up choosing a recipe by The Kitchn for two reasons: it had the most extensive, step by step instructions for the perfect cheesecake (which, by the way, are so perfect in the original recipe that I suggest you just follow them to the word by following the link above and you should be fine) and, more importantly, it looked really good in the photo. Let’s face it, we all eat with our eyes as well.
What was left to do was to change a few ingredients – I used my cookies instead of Graham crackers, reduced the amount of sugar and replaced it with Xylitol, reduced the amount of cream cheese and replaced it with more sour cream and some whipping cream, used vanilla powder instead of vanilla extract (it gives the cheesecake a really nice look with the tiny dots) and replace the cornstarch with tapioca. Yes, I wouldn’t be me if I didn’t change a recipe before I even gave the original one a try. Luckily, my experiment turned out to be a great success! Even with my “healthy-cookie-hating-family”.
Ingredients
For the cheesecake:
600g cream cheese
1/2 cup + 2 tbsp Xylitol
1 tablespoon tapioca flour
1/8 teaspoon salt
1 cup sour cream
1/4 cup heavy whipping cream
2 teaspoons lemon juice
1 teaspoon vanilla powder
3 large eggs
1 large egg yolk
For the crust:
1 1/2 cup healthy chocolate chip cookies crumbs (chocolate chips removed; you can use Graham crackers, Speculas cookies.. if not strictly sugar free)
3 – 4 tablespoons melted butter, plus extra to grease the pan
1 tbsp Sukrin (only if you made the cookies without Sukrin)
1 tbsp Xylitol (only if you made the cookies without Sukrin)
For the topping:
250 g fresh strawberries
fresh mint leaves
grated dark, 85% chocolate (to taste)
200 g frozen raspberries
Instructions
- Before you start: Preheat the oven to 175°C with a rack in the middle position. Take the blocks of cream cheese out of their boxes and let them warm on the counter while you prepare the crust. Rub a 20 cm spring form pan with butter all over the bottom and on the sides. Wrap the pan in foil by cutting two large pieces of foil and laying them on your work surface in a cross. Set the springform pan in the middle and fold the edges of the foil up around the sides of the pan. The foil gives you extra protection against water getting into the pan during the water bath step.
- For the crust, crush the cookies with your hands until they form fine crumbs. Melt 4 tablespoons of butter in the microwave and mix 3 tablespoons into the crumbs. If necessary, add the additional 4th tablespoon. The mixture should hold together in a clump when you press it in your fist but should not be too greasy. Transfer it into the springform pan and use the bottom of a glass to press it evenly into the bottom.
- Place the crust in the oven and bake for 9 minutes until the crust is fragrant and just starting to brown around the edges. Let the crust cool on a cooling rack while you prepare the filling.
- Mix the cream cheese, xylitol, tapioca flour, and salt in a stand mixer on medium-low speed until the mixture is creamy, like thick frosting, and no lumps of cream cheese remain. Scrape down the beater and the sides of the bowl with a spatula.
- Add in the sour cream, whipping cream, lemon juice, and vanilla and continue to beat on medium-low speed until combined and creamy. Again, scrape down the beater and sides of the bowl with a spatula. Mix in the eggs and yolk one at a time with the mixer still on medium speed.
- Stir the whole batter a few times by hand, being sure to scrape the bottom of the bowl, to make sure everything is incorporated. The finished batter (as opposed to the one from the original recipe) should be liquidy, like the one you would get for a panna cotta, maybe slightly thicker. Don’t worry, it should be that way, once baked, the texture will be just right.
- Check to make sure the crust and the sides of the pan are cool and pour the batter over the cooled crust. Transfer the pan to a baking dish big enough to hold it. Bring a few cups of water to a boil and pour the water into the roasting pan, being careful not to splash any water onto the cheesecake. Fill the pan to about 2 cm high.
- Bake the cheesecake at 175°C for 50 to 60 minutes, depending on your oven (mine took 48 minutes). Make sure to be around the oven for the last 10 minutes and check up on the cheesecake regularly. The cheesecake is done when the outer two to three inches look slightly puffed and set, but the inner circle still jiggles when you gently shake the pan. Some spots of toasted golden color are fine, but if you see any cracks starting to form, move on to the next step right away.
- Turn off the oven and crack the door open. Let the cheesecake cool slowly for one hour. After an hour, remove the cheesecake from the oven and from the water bath, unwrap the foil, and transfer it to a cooling rack. Run a thin-bladed slightly watered knife around the edge of the cake to make sure it’s not sticking to the sides. Let the cheesecake cool completely on the rack.
- Chill the cheesecake, uncovered, for at least four hours or up to three days in the refrigerator. This step is crucial for letting the cheesecake set and achieving perfect cheesecake texture. I left mine in the fridge overnight and decorated it in themorning.
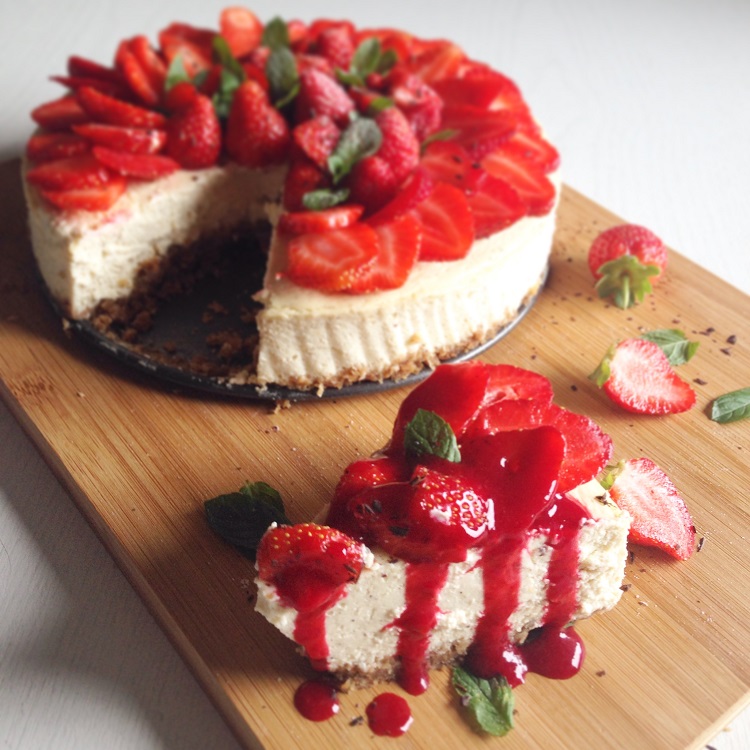
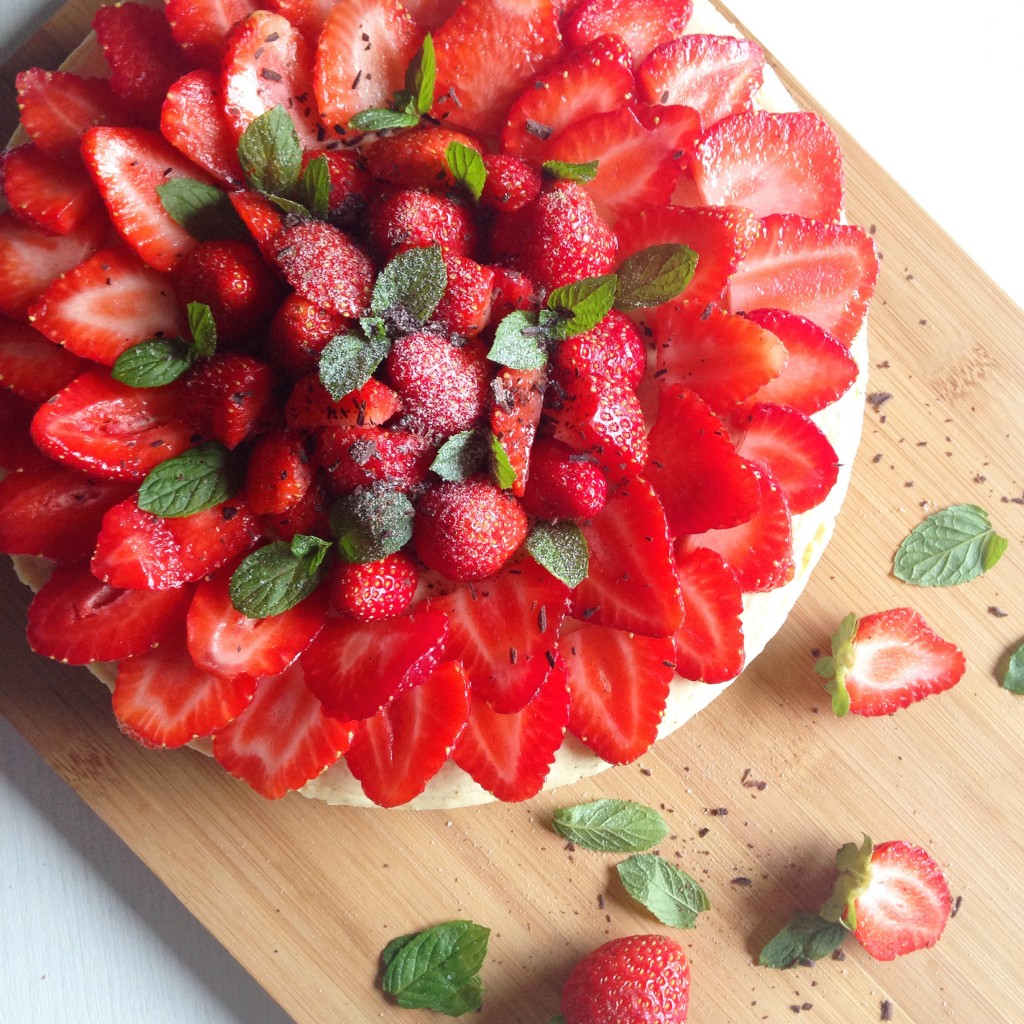
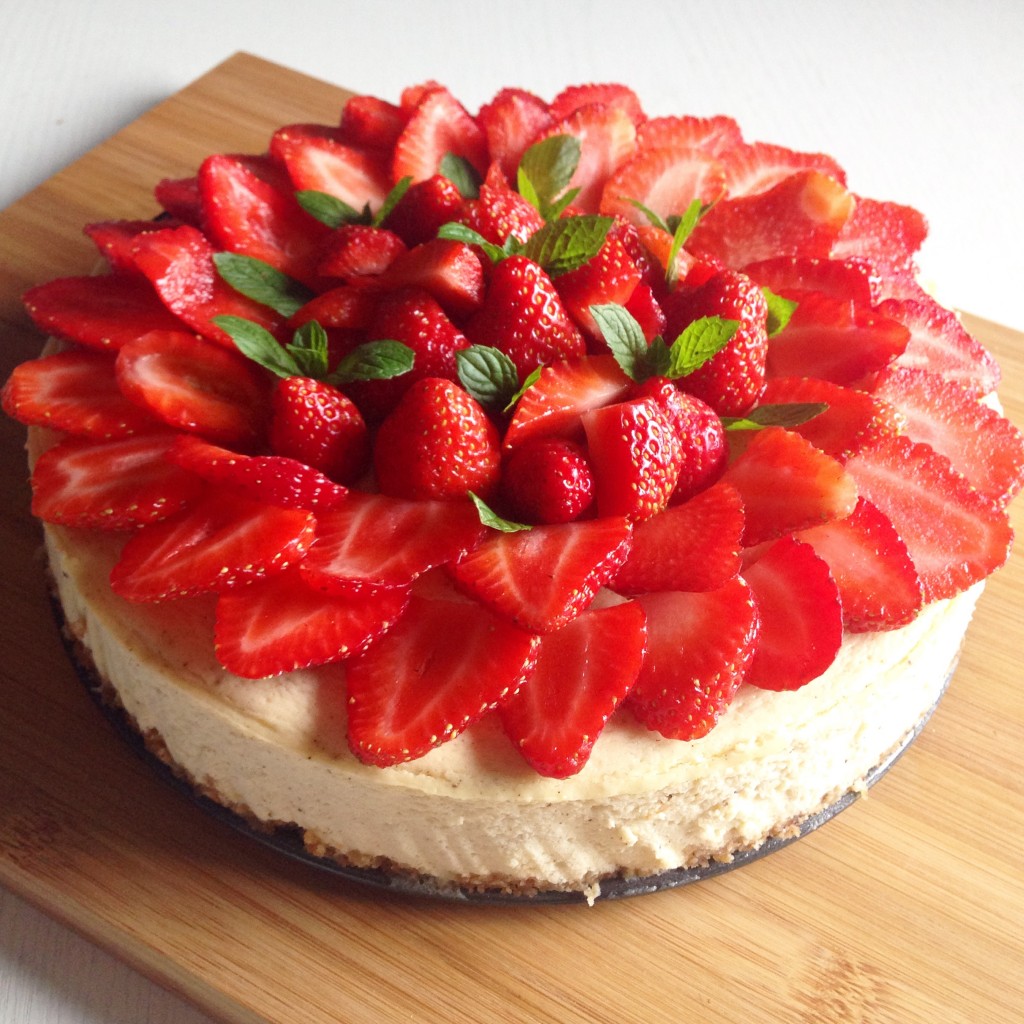
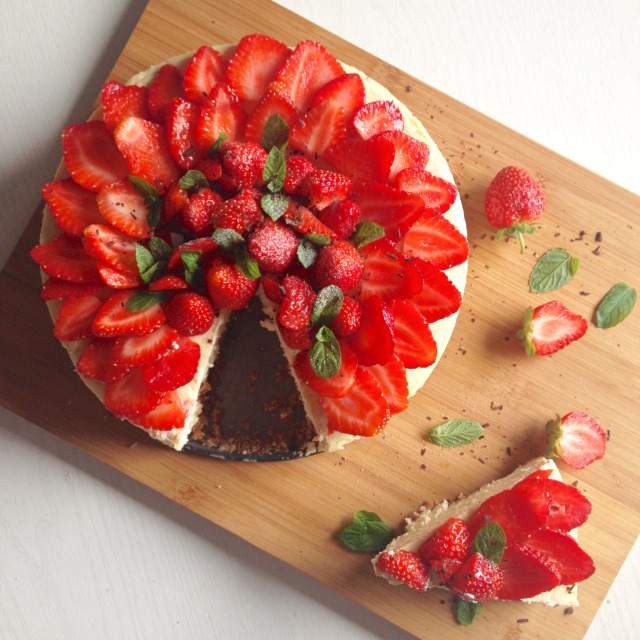
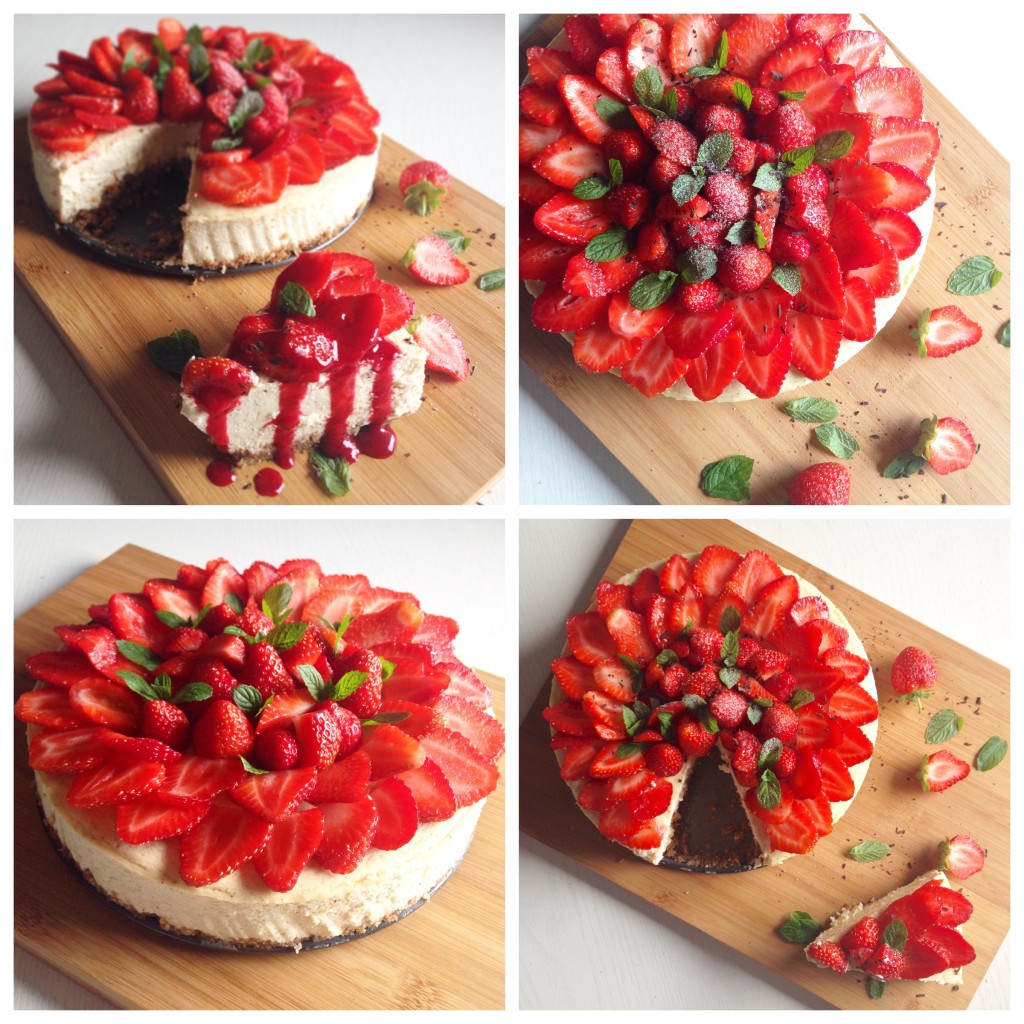
- Take the cheesecake out of the fridge and top it with fresh strawberries (or other seasonal fruits), some mint, grated chocolaed and powdered xylitiol. For serving, warm some frozen raspberries until they start to boil, transfer them to a strainer (which you’ve put over a bowl) and mix with a spoon to get a clear, seed-free raspberry sauce. Pour over individual pieces of cheesecake and serve. If not serving immediately store in the fridge.
- IMPORTANT: do not cover the cheesecake when stored in the fridge, since condensation can start building inside the covered container, which can make the top of the cheesecake mushy!

